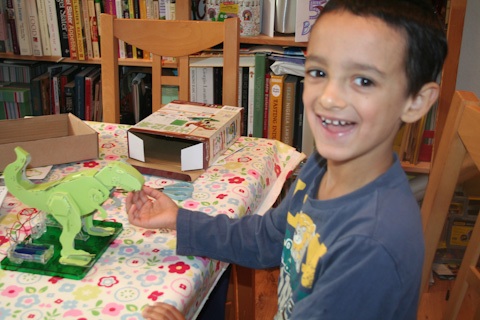
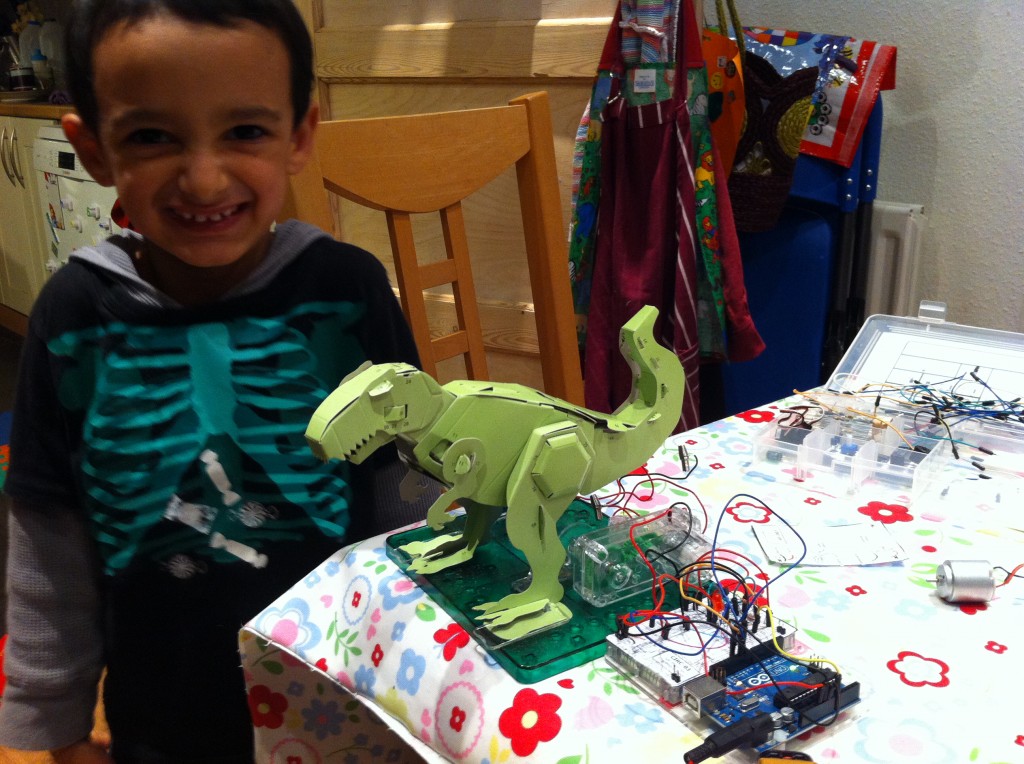
Bryn’s recent 5th birthday brought with it an extremely cool Dinosaur toy (available from Maplins in the UK). It consisted of a set of cleverly engineered cardboard cutouts which you fold and join to make a T-Rex, coupled with a motor, cogs, wires, battery box, switch and plastic stick, which all join together to make the cardboard T-Rex move and gnash it’s teeth when you’ve put it all together.
Bryn and I built it (although to be honest the cardboard folding/joining was pretty fiddly, and while he pushed the motor, battery box etc. in the base confidently, I had to do most of the construction of the cardboard model. The result was much much better than I really expected. The dinosaur moved (on the spot) and it’s teeth gnashed pretty effectively – enough for Bryn to play a game of putting his finger near it’s mouth and getting ‘bitten’.
The next day, I had an idea that if the dinosaur’s motor could be driven off our arduino, we could wire the dinosaur up. I asked Bryn, if he’d like to do this as a project and he was keen, so the next day we sat down to do this.
The most recent project we’d done with the arduino had been using a light sensitive resistor to detect light levels and switch an LED on/off, so making the dinosaur light activated seemed an obvious way to go. I got the basic motor circuit design out (details at http://www.oomlout.com/oom.php/products/ardx/circ-03) and started to try to work out how wire the photo-resistor.
While I was doing this, I was pretty impressed that Bryn just got on and wired up the motor circuit from the diagram pinned to the breadboard. While I had to put the more fiddly components in, all the wires Bryn did without prompting or help.
I was able to wire up the photo-resistor separately on the same breadboard (using http://www.oomlout.com/oom.php/products/ardx/circ-09) – including (at Bryn’s request) an LED also to be controlled by light levels. I have to admit it took me a little while to work out the wiring, and this led me to just write the code to run the circuit without really getting Bryn to help – which I was sorry about afterwards.
I’d got some concerns about whether the arduino board would drive the motor OK, as I hadn’t been able to establish what voltage/current was required for the motor. The circuit above uses a transistor to enable the arduino to drive a small toy motor, but I wasn’t sure if it would be enough for the dinosaurs motor (which usually runs off two AA batteries).
We covered the photo-resistor – and success. The dinosaur leapt (if slightly lethargically as the motor clearly not quite getting the power it really needed) to life. A dinosaur that comes to life when you switch the lights off!
I guess the next step would be to get some LEDs on wires to push through the cardboard as eyes, and some sound effects …


